How to Use Silhouette Studio for Beginners? [Step By Step]
When you are using a Silhouette Cameo for the first time, you may feel difficulty in using Silhouette Studio. The Silhouette Studio consists of several tools and features that can be overwhelming to use. Hence, in this blog, we will focus on the use of Silhouette Studio software. Here you will learn how to use Silhouette Studio for beginners. You have to start downloading Silhouette Studio from the SilhouetteAmerica.com/software page if you don’t have Studio now.
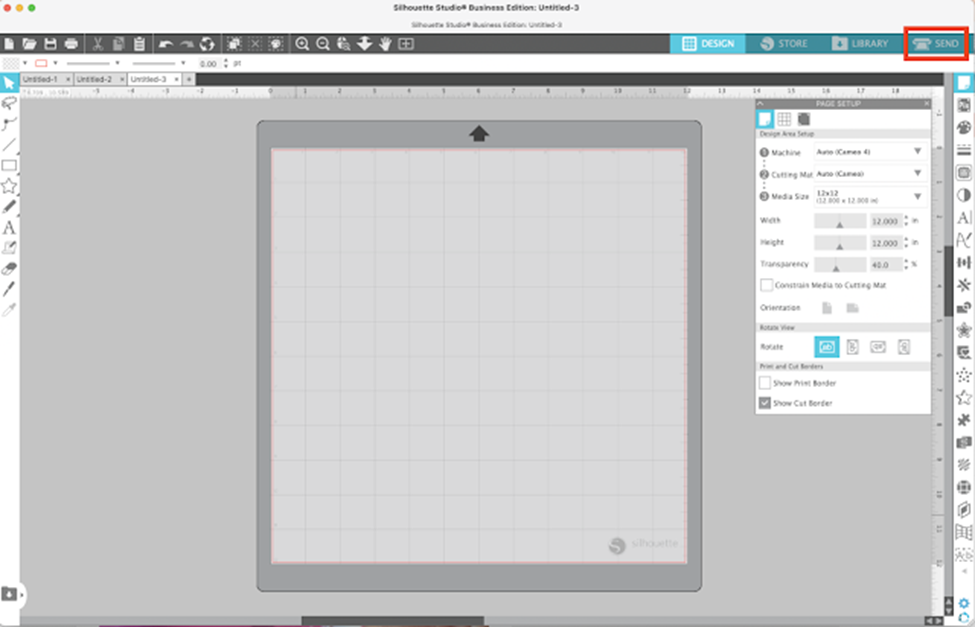
This software is free and consists of various features. Users decide to buy a one-time paid upgrade for the software to get more features. When you open the Silhouette Studio, you will see the four large blue buttons at the top right. These four buttons are Design, Library, Store, and Send. You will mostly need Design, Library, and Send.
How To Start Using Silhouette Studio?
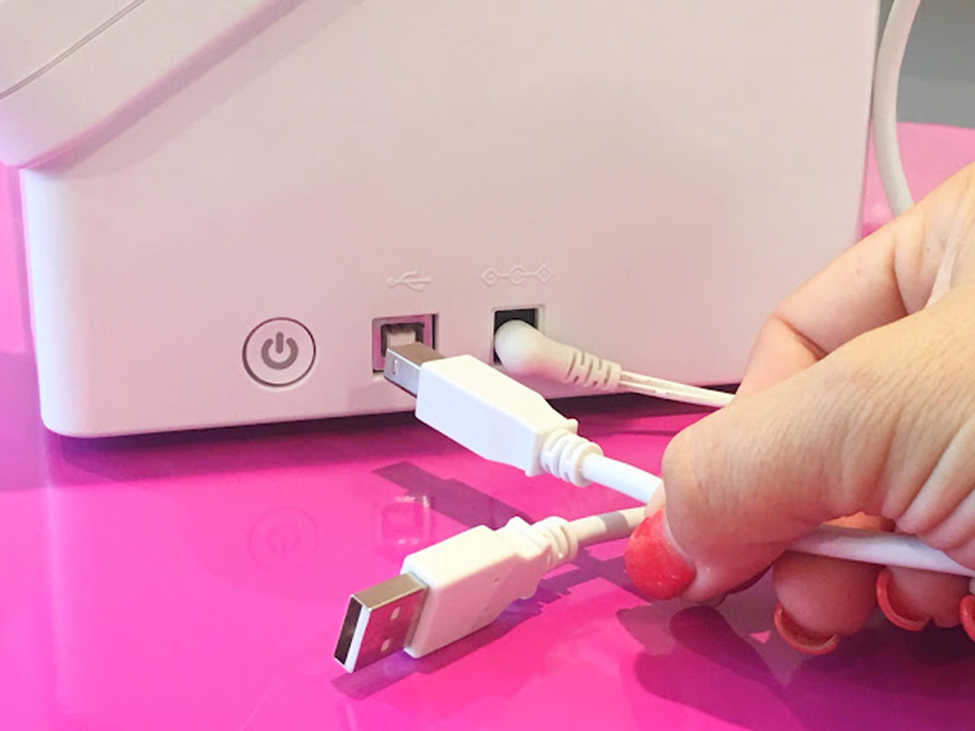
Start by opening the Send Panel. You can control all the settings through the Send Panel when cutting your material. It is the place where you will tell your software which machine you are using. This step will allow some selections to be automatically made. Then, switch on your machine and connect it to your computer. Ensure a blade is installed and locked into the left carriage.
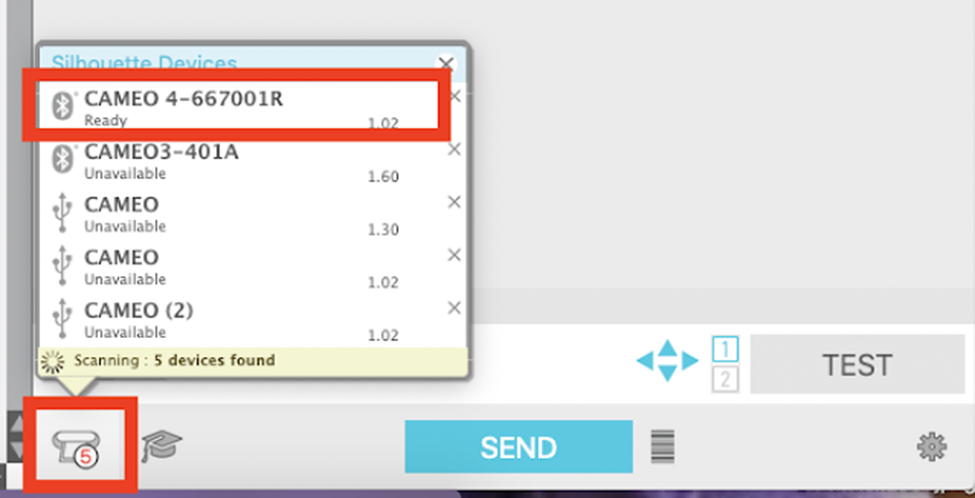
Click the small machine list button at the bottom of the Send Panel. Then, choose a “Ready” or “Available” machine from the list of available machines.
Suppose you are using Silhouette Cameo 4; then your machine will know that you will be cutting with a Silhouette Cameo 4.
Design Page Setup
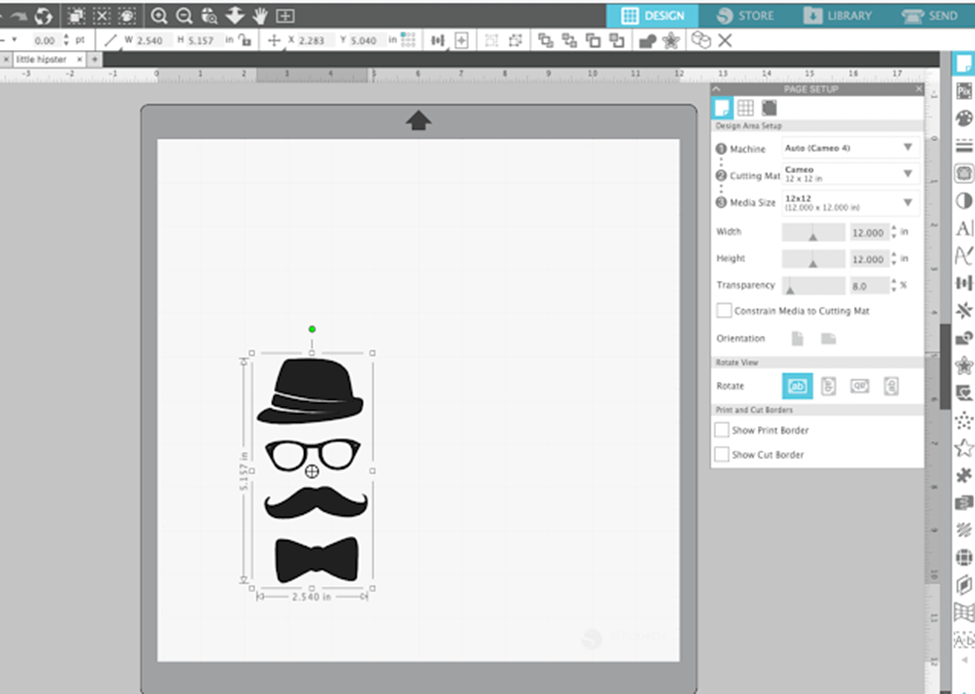
When you select the machine, you can go to the Design area of the software. Then, select the top tool on the right sidebar to open the page setup panel. Now, begin at the top of the page setup panel and review the selection. Also, the machine selected in the send panel in the previous step is the “Auto” selected machine in the page setup. Hence, you don’t need to make any changes to that option.
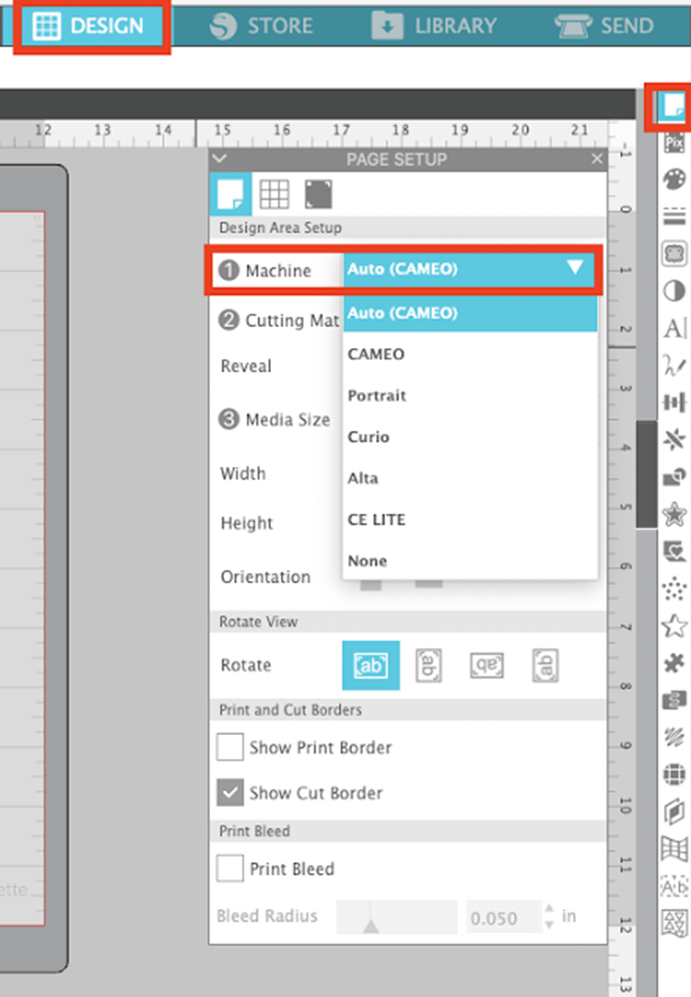
Then, go to the Page setup panel and select the cutting mat size. The auto-size will be chosen according to the machine you have selected in the previous step. As a beginner, you must use a 12 X 12 cutting mat that would indicate “Auto (CAMEO)” based on the Send Panel selections.
Then, come down to the Material size area and ensure that the Media size is on Auto 12 X 12.
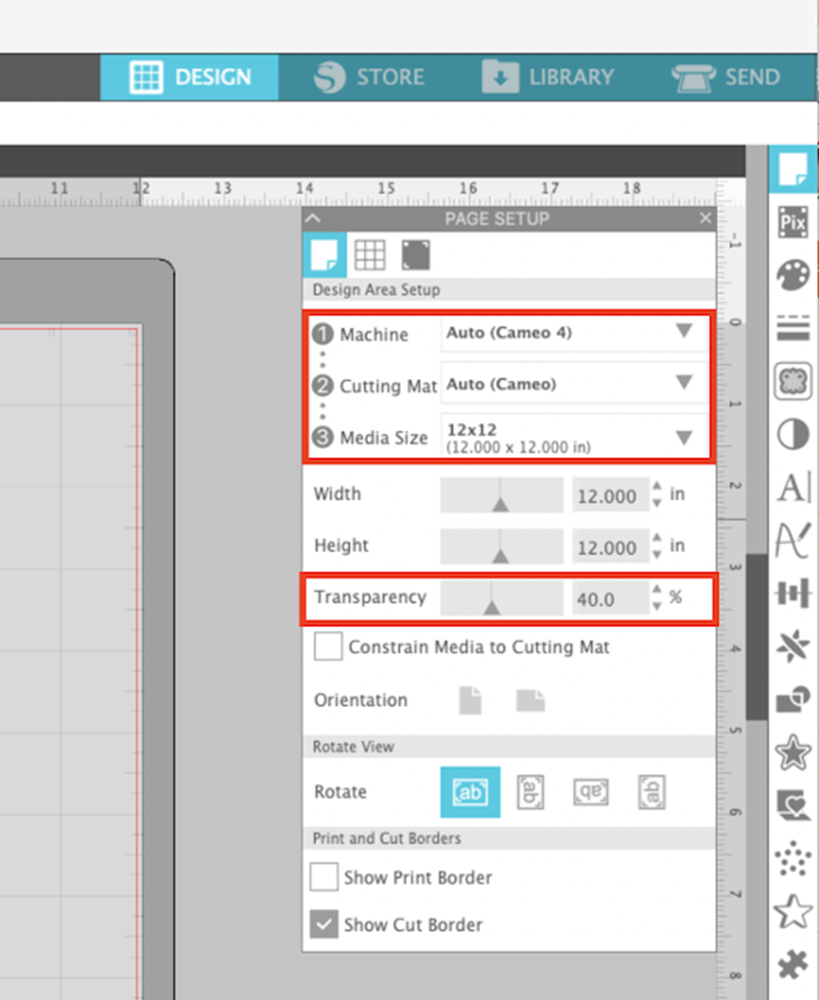
When you are using Silhouette Studio for the first time, set the transparency in the mid-range, so the grid boxes are visible in your workspace. Each grid box represents 1 square inch and correlates to the Silhouette cutting mat. This step will help position your design.
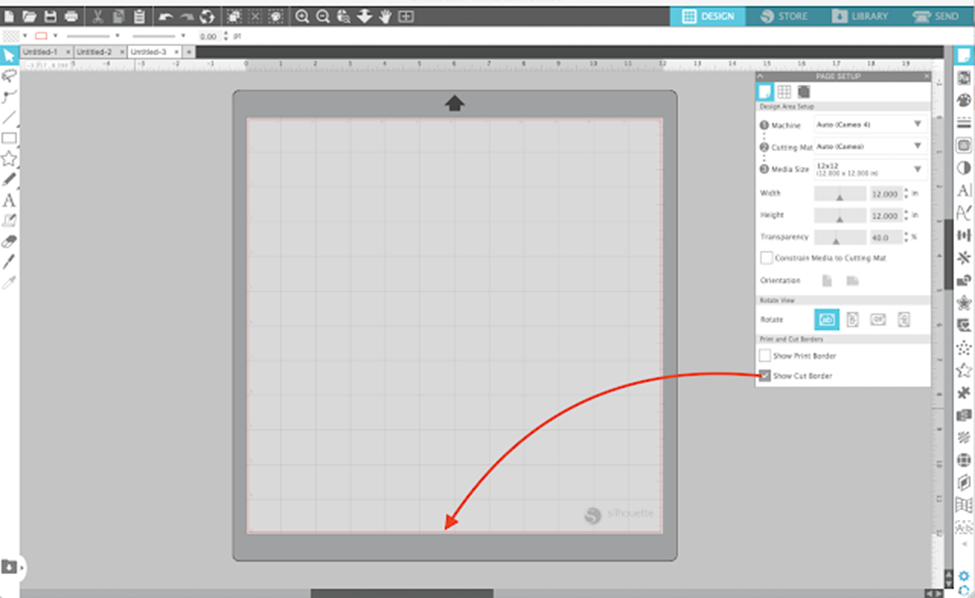
After that, ensure that the show Cut Border box is checked. The red line with the design is the cut border, which means whatever you want to cut should be inside this area.
Open An Image In Silhouette Studio
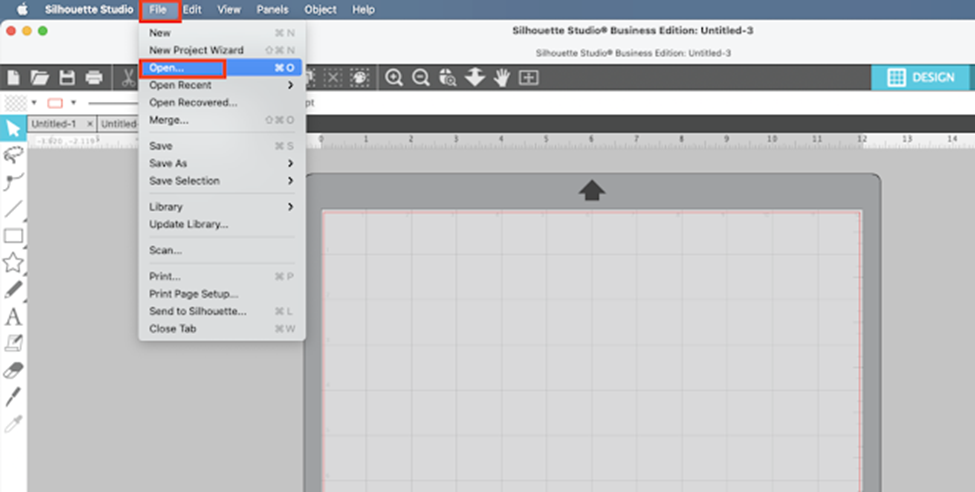
There are many ways to open and use designs in the Silhouette Studio. In the free version of the Silhouette Studio, you are allowed to open Silhouette Design files, JPEG files, PNG files, etc.
- Move to the file > find and open a design
- Drag and drop a file into the Design area from your system
- You are expected to create your own design with the help of drawing tools in Silhouette Studio
- Launch a design from the Silhouette Studio Design Library.
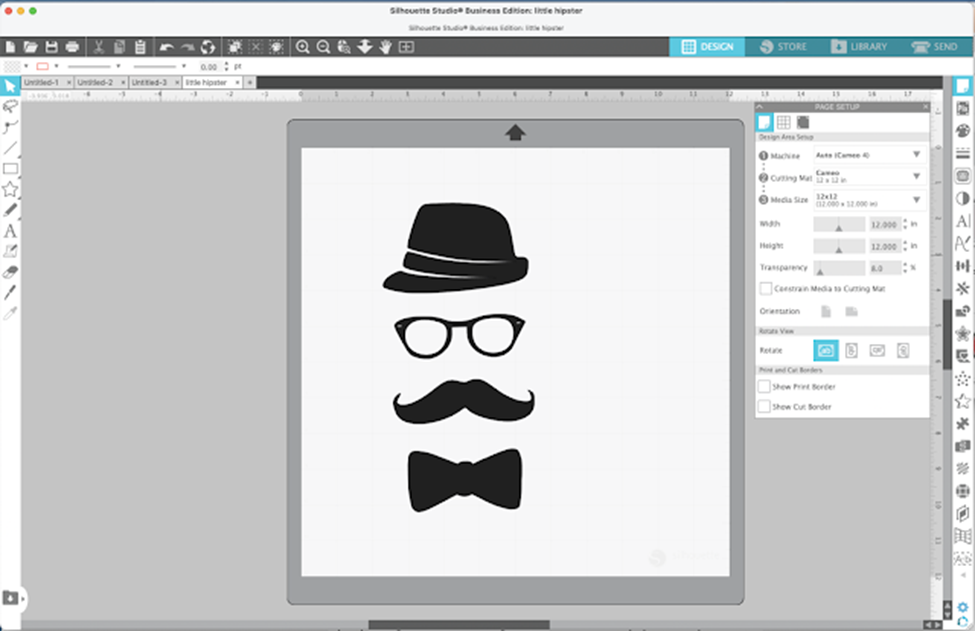
Then, you need to find the file you have downloaded. When you find it, click OK to open it in the design space.
Basic Silhouette Studio Tools And Features
Select The Design
This is important to learn to select the design to work with. Select a design by clicking on any colored part of it using your mouse.

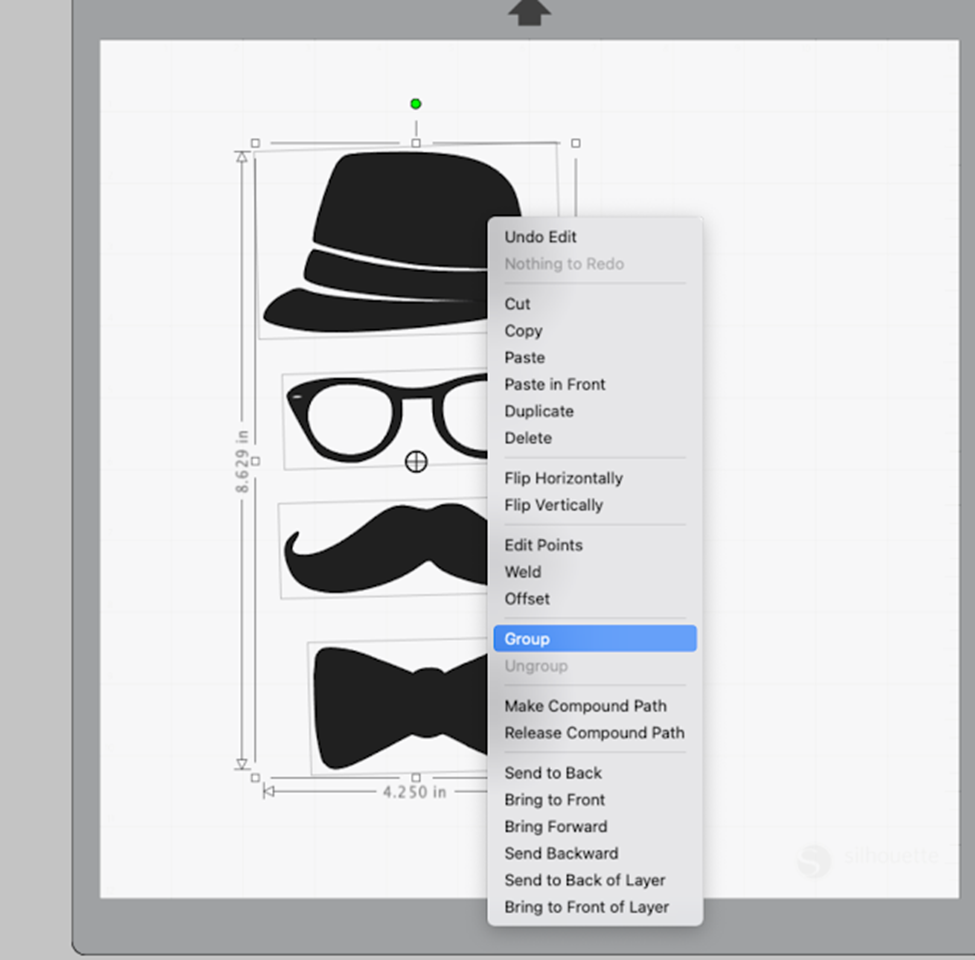
Group/Ungroup
When you select the design and see a big box around all the design components, it means that the pieces are grouped together and will move together around the Design Space. But if you select the design and the box appears around only one component, the design is not grouped or ungrouped.
Hence, if you move one piece, the rest of the elements won’t come with that until you hold your mouse down and make a dragging swoop around all pieces. After that, right-click and select Group. Similarly, to ungroup a design that is grouped, go to design and right-click on it. Now, select Ungroup.
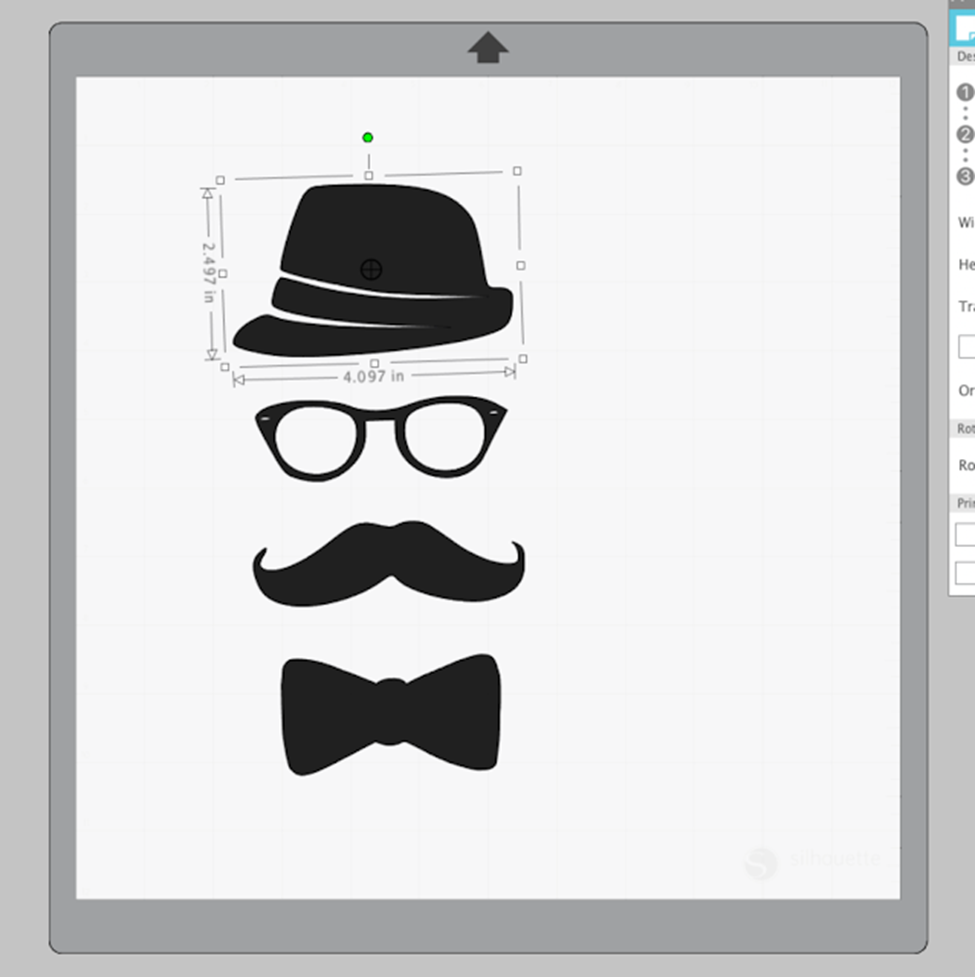
Scale
Scaling your design is the adjustments you make to your design. When you select your design, the box around it will show the dimensions of the image. Then, drag any corners in and out to expand or reduce the size of your design according to you. Your first cut should be at least 6″. To make the cut, select the design and take it to the top left area of the cutting space.
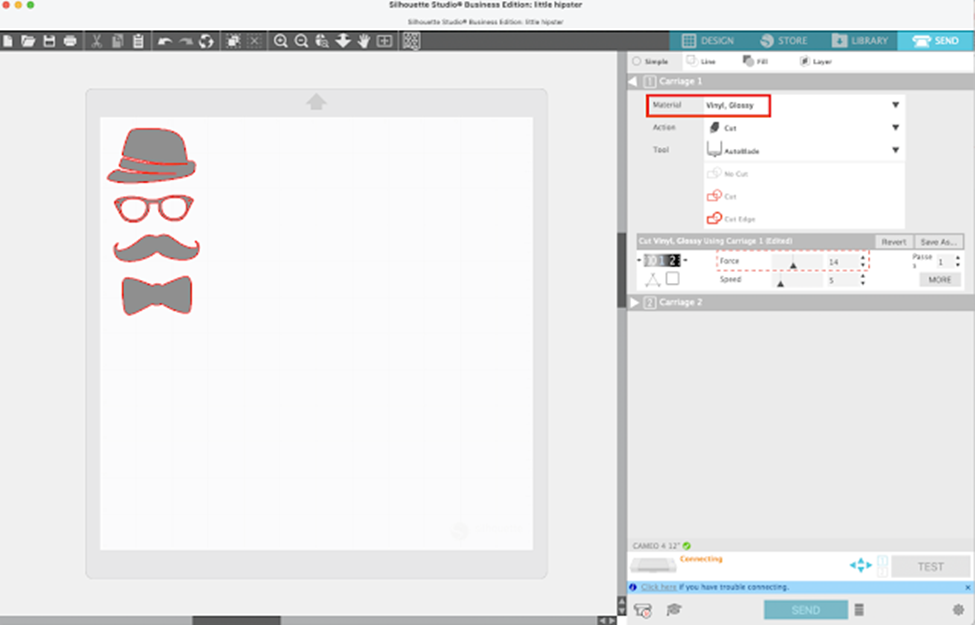
Cut Settings And Send The Design To Cut
Click the Send button at the top to return to the Send Panel. While coming to the Send Panel, you will see your design on the left preview with red lines outside it. Those red lines are the cut lines, and they help you get a preview of the cut. Then, choose the material to be cut from the material list. For instance, you can start with vinyl, and once you do it, the cut settings will be automatically selected.
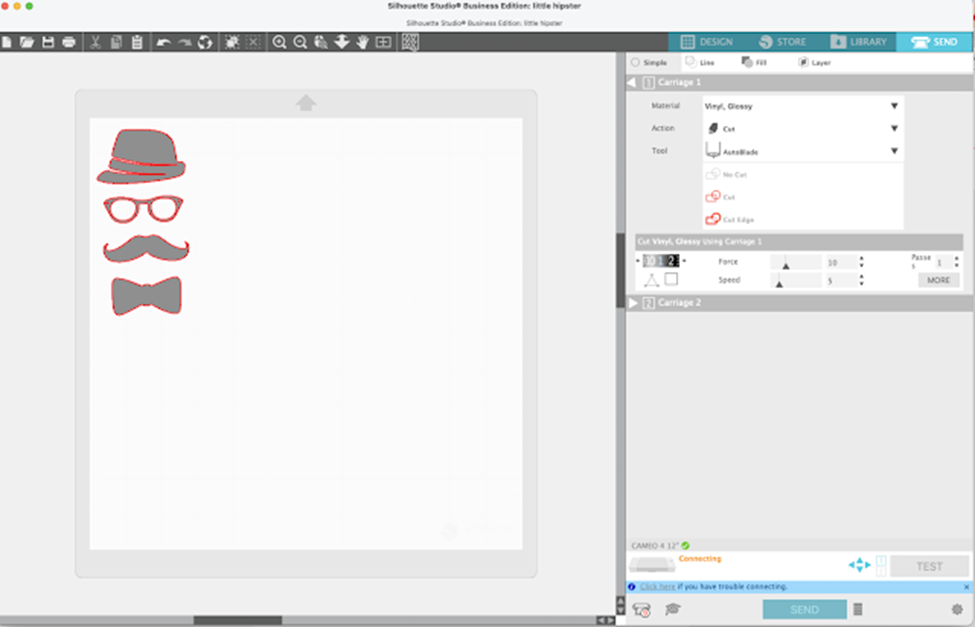
When you are using the autoblade, you don’t need to think about this area now. When you adjust the blade manually, such as a 1mm manual blade, you have to turn the bottom of your blade so that the red line matches the blade depth number.
Also, select the tool automatically, and you have a tool in the machine that is turned on and connected. When your machine is loaded with the mat and material, press the Send button at the bottom of your screen to start the cutting process. This was all about how to use Silhouette Studio for beginners. I hope you understand the basics of Silhouette Studio and can try a cut with it.
Visit Site – silhouette cameo
silhouette cameo 4
Silhouette Cameo 4 Pro
Silhouette Setup
silhouette cameo software
Source :- https://cameosilhouettecameos.com/how-to-use-silhouette-studio-for-beginners-step-by-step/


Comments
Post a Comment